Write a note with ease! Brittanee here @bbz_kraftz and here is a cute and functional way to have cards ready in a snap with this desk easel card holder. Not a card maker? That’s okay. This will be great for sending happy mail as well.
Tools you’ll need:Paper trimmer https://bit.ly/3yvwEij
Scoreboard https://bit.ly/3bJNHDK
Scoring tool https://bit.ly/3yw1Mys
Tonic Studios Teflon Bone folder https://bit.ly/3u7UpKe
Scissors https://bit.ly/34518dc
Bearly Arts Precision Craft Glue https://bit.ly/3f5W3aH
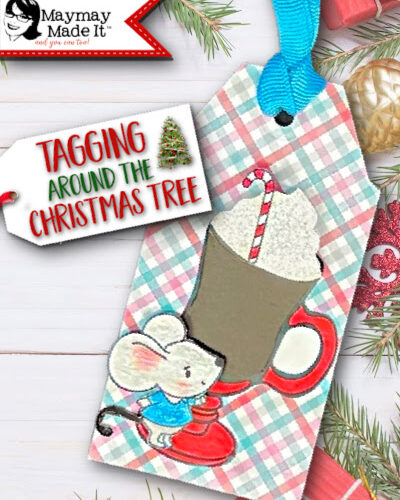
Oh Happy Day by Echo Park
Coordinating cardstock https://bit.ly/3oAD1wv
6×6 Chipboard https://bit.ly/3wpQgTe
Cutting guide:
Cut your solid color cardstock-
(2) 6×6 chipboard
(1) 2×6
(1) 2 ½ x 6
(1) 3 x 6Pocket- 3 ½ x 6 ½ starting in the short side, score at ½ and 1 inch, rotate, repeat, rotate, repeat.
Pocket- 3 ½ x 3 ½ starting on either side, score at ½ and 1, rotate, repeat, rotate, repeat.

How to:
–Beginning with your 2×6 piece, you’ll score at 1 inch on the 2 inch side. Your 2 ½ piece, score at .5 inch on the short side. Finally on the 3 in piece, score at .5 inch and 2 ½ on the short side.

–Fold and smooth out all of your score lines on your cardstock. Optional: cut off the edge pieces at an angle to avoid overhang.

–Next you’ll take your bearly Arts Glue and apply glue to one side of your .5 inch flap on your 3 inch piece. Then you’ll take the 2 ½ inch piece and on the non scored side, adhere it to the 3 inch piece that you applied glue to.

–Grabbing one of your 6×6 chipboard pieces, add glue to one of the .5 inch flaps and apply it to the bottom edge of chipboard with the flap going upwards. You’ll repeat this to the other chipboard piece making sure the middle folding of the cardstock is folded down as a mountain (or upside down “V”) to create the easel shape.

***I suggest adhering mats so that your added cardstock pieces stay on. Of course this is optional, but it gives it a more finished look and this must be done before the next step.Now take your 2 inch piece and apply glue to one side of the flap. Add that to the top edge of your chipboard. Bring your two chipboard pieces together and add glue to the other flap, to bring over and adhere it to the other chipboard piece.Before applying the pockets, make sure you mat your chipboard. Mine is done with ⅛ border, but you can cut yours down to size however you like.

–Starting with the 6 ½ inch piece, smooth out your score lines and then you’ll cut out the little 4 squares on both sides of the corner. Try cutting at a little angle to avoid overhang. You’ll repeat this cutting with your 3 ½ inch piece as well.Apply glue to all 3 outside half inch flaps and form your pocket. You’ll then adhere it to the bottom corner, lining the outside to the edge and the bottom to the edge. Then play around with it to form the box shaped pocket. You’ll then repeat this with the 3 ½ inch piece and lining it alongside the first pocket.


Next we’re going to take decorative cardstock, mine is cut at 2 ⅜ x 5 ⅞, to cover the front of the pockets.

Now all you have to do is decorate to your liking!There you have it! I do hope you enjoy making this project. I was able to fit 6 A2 cards with their envelopes in the pocket. Thanks so much and “see” you again soon!