Hi! Bug here from @mediocreartsandcrafts. I have been hoarding a bunch of these Brutus Monroe Jumbo Media Tags and finally broke out a pack to make this little album. I paired it with the Echo Park Summer Bliss collection and the binding system that I know as the accordion binding system.
Supplies:
Echo Park Summer Bliss Collection https://bit.ly/3giIzaX
Brutus Monroe Jumbo Media Tags
Bearly Art Precision Craft Glue https://bit.ly/3rUZHs4
White Cardstock Paper https://bit.ly/3pxcoZU
Trimmer https://bit.ly/3cNJKhL
Cutter Bee Scissors https://bit.ly/3v0jgjB
Scoreboard https://bit.ly/3xKsrX6
Teflon Bone Folder https://bit.ly/3d3D3bA
1/4” hole punch https://bit.ly/3xK7coo
Doodlebug Twine https://bit.ly/2Uv2wnW
Ribbon https://bit.ly/2UttnRj
Cutting instructions:
–Doodlebug Twine ~10 sections each 4″ long
–Ribbon~
Ribbon 10 sections each 8″ long
–20 pieces of paper collection cut to 3 ¾” x 7 ¾” for your pages
–1 piece of paper collection 3” x 7 ½” for your spine
— waterfall page cut 5 pieces of the paper collection at 3 ¾” x 4”
Directions:
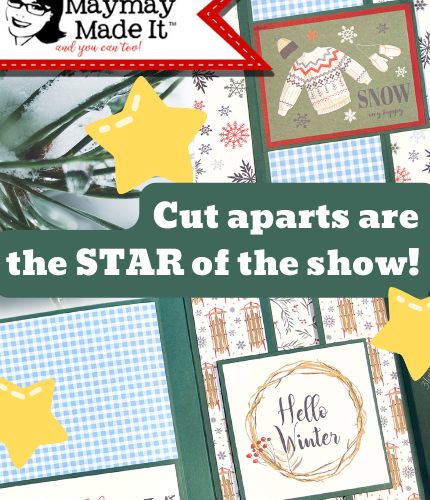
1. From Summer Bliss paper collection, set aside cut a-parts and sticker sheet. From the remaining choose the sheets that will be your ‘pages’ – Cut 20 pieces that measure 3 ¾” x 7 ¾”. For pages that have an orientation, you want the 7 ¾” sides to be north to south. Using a tag as a template, cut the top corners into the tag angle, and punch accordingly.

2. Now score the 6 ¾” x 7” by placing the cardstock in your scoreboard with the 6 ¾” side in the board west to east, and the 7” side north to south. Score at every quarter inch. Fold and burnish at each score line – this will loosen the fibers at the score lines, you will ‘train’ the paper which direction to fold during the next step.
3. For this binding system, see photo for enlarged labeled example, or watch video. Each scored section has a purpose, in this order:
* Front page * Flat * Glue * Glue * Flat * Glue * Glue * Flat * Glue * Glue * Flat * Glue * Glue * Flat * Glue * Glue * Flat * Glue * Glue * Flat * Glue * Glue * Flat * Glue * Glue * Flat * Back Page

Glue each pair of ‘glue’ sections together. This will create the hinge to attach a tag too. Fold and burnish at each score

4. Glue one tag to each of the hinge sections, including the front and back tabs. Be sure to even up your tabs against the binding, as well as at the bottom – by ‘standing up’ your book on your work surface after adding each tag.

5. Cover the spine with the page you chose from the collection – I use the sheets with the birds. Glue the pages to the front and back of your tags – if you are concerned with the order of your pages, take a moment to put them in order before your start gluing them in. The punched holes might not line up nicely, but we cover that up in the next steps.
6. For each tag:
* Tie a piece of twine crossing once.
* Fold a piece of ribbon and thread loop through from the front
* Feed the ribbon tails through the loop and pull to tighten.
* On the ‘back’ side of your tag, tie the twine around the ribbon in a knot


7. For your waterfall pages score each piece of cardstock so that it has a ½” hinge at the top. To create the waterfall, glue each piece of cardstock so the hinge is at the top of the sheet, folded under. Flip the page up and glue the next piece right underneath the previous – so that the bottom of the previous hinge is at the top of the next sheet, as pictured.


8. Cut down a few of the cut a-parts and create simple pockets in your book by gluing them in across the bottom and one side, as pictured.

9. Choose your favorite stickers and embellish the front cover and random pages throughout.