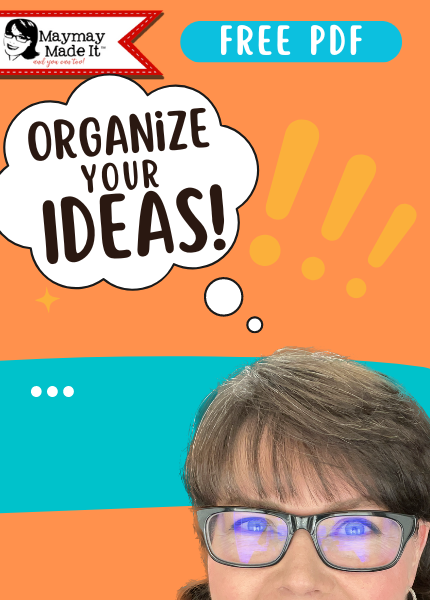
Have you ever dreamed up a new card design? Or saw inspiration for a new project, or even seen a video that you want to try, but need a way to keep them all organized?
Tonight Maymay shows you a fast, fun and easy way to organize those project ideas!
So gather up the supplies and let’s create!!
~~Measurements~~
Covers are 2 pieces of colored cardstock that are cut to 4.25″ (w) x 11″ (l)
Binding support is a piece of black chipboard cut to 11″ (l) x .75″ (w)
Project sheets are 4.25″x 11″ after folding…see the link for the free PDF
Binding: after you have folded the project sheets take a ruler and find the middle and make a mark, then measure up 2.50″ from that center mark and make a mark and then measure down from the center and make a mark…then measure in .50″… this is where you will punch your holes for either the book rings or twine
SEE THE VIDEO FOR ASSEMBLY
PDF LINK https://bit.ly/3pCvced NOTE: select print to entire page it will make same size as ours
Video mentioned today: Leftover Papers have met their match! Cards so simple you’ll 🤦🏻♀️ https://youtu.be/y-WRJJLpdLw
~~PRODUCTS~~
Art Glitter Glue https://bit.ly/3jb9WpP
Doodlebug Twine https://bit.ly/3Oo7MRu
Baum Gartens Snapbook rings https://bit.ly/3BqLWHR
Pattern Cardstock Section https://bit.ly/3hzBCnP
Gelly Roll https://bit.ly/39IjZ4p
Tim Holtz Ruler https://bit.ly/3Byhnhe
WRMK Crop-a-dile Hole Punch https://bit.ly/3Nzuaqc we used the 1/4″ side
EK Reverse Tweezers https://bit.ly/3jEdMZu
Dritz Flexi-Needle Threader https://bit.ly/3M48jrz
Copy paper
—I use affiliate links when possible, using these links to purchase awards me a small commission. Items used in this video are all purchased by me, if and when an item is sent to me I will denote that by using ** next to the item.
Share your work on our customer gallery here: https://bit.ly/3cSdj0C
Join our Discord here: https://discord.gg/ZpGb7D7NZb

Love this idea. I definitely lack in the gift of organization! Another “how to” video would be another “gift” me 😉
Hugs!